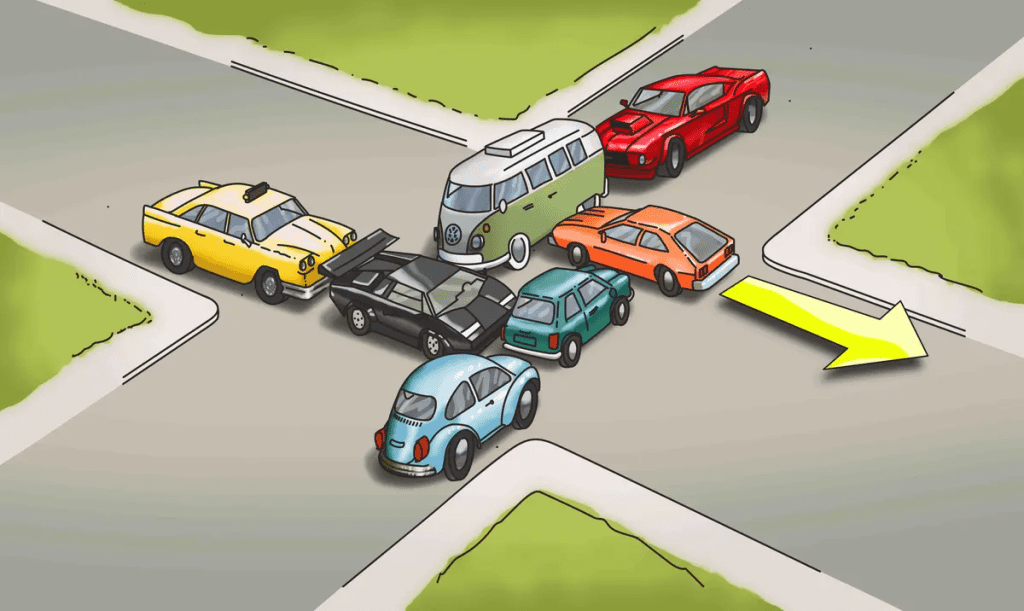
Now that we know Car G is the key to solving the gridlock, let’s break down the role each car plays in this scenario and why Car G’s movement sets everything in motion.
The Role of Each Car
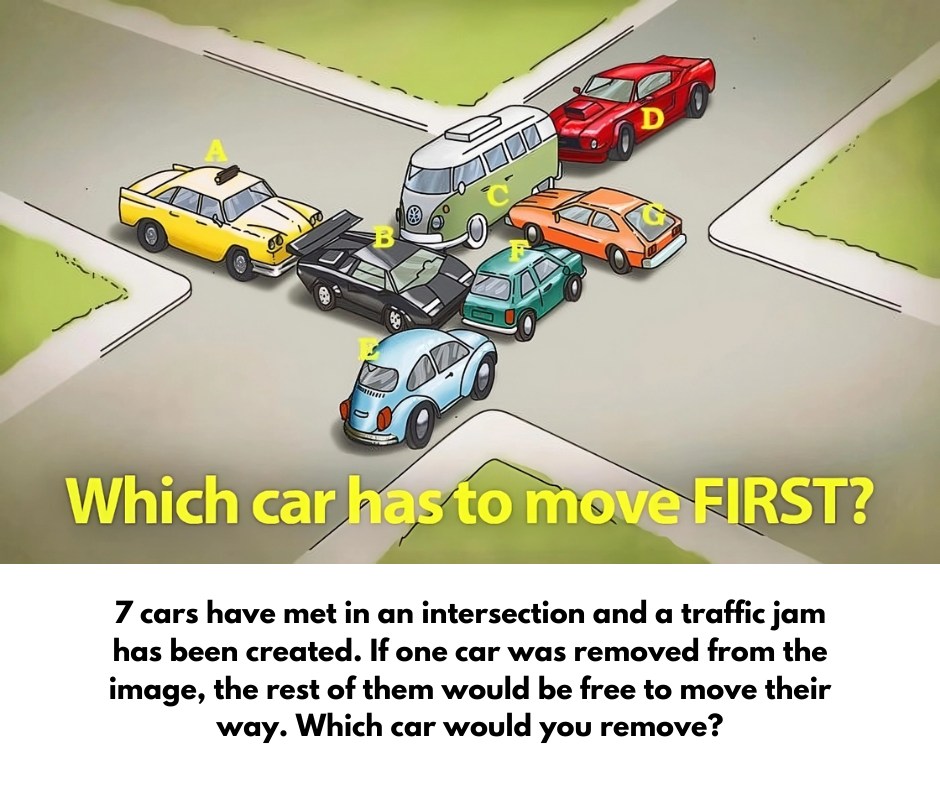
- Car A: Positioned near the front, Car A can’t move until other cars behind it start clearing the way.
- Car B: Like Car A, Car B is stuck. It’s close to the middle of the jam, but it doesn’t have enough space to make the first move.
- Car C: Car C could move if Car E cleared the way first, but it’s not in the ideal position to start the chain reaction.
- Car D: Also stuck in the middle, Car D needs more space to move, which can’t happen until Cars E and F shift positions.
- Car E: Positioned toward the back, Car E can’t move until Cars F and G create enough room.
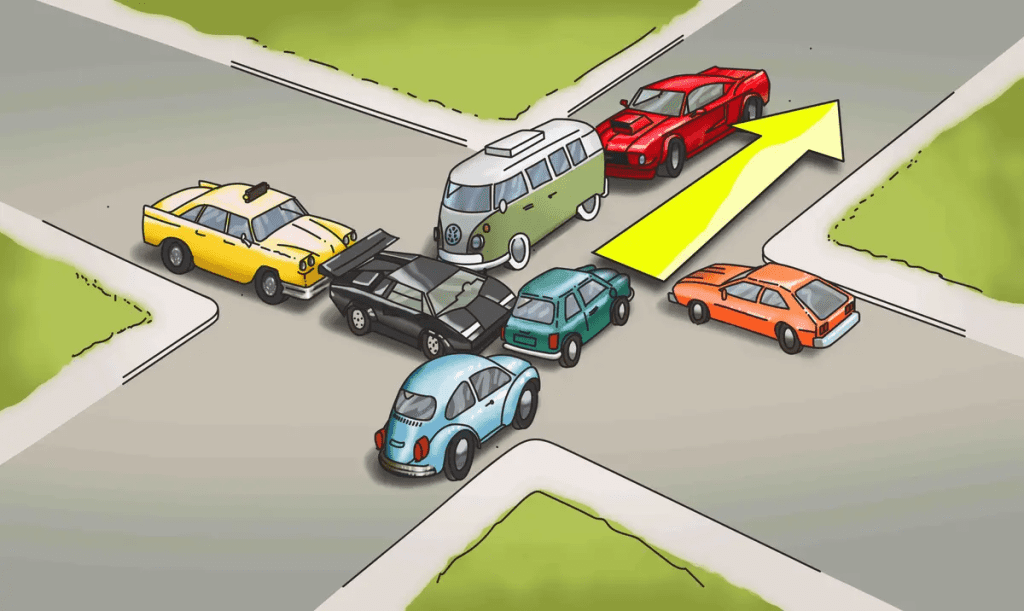
- Car F: The second most important car in the puzzle, Car F can only move after Car G makes the initial move. Once Car F moves forward, the traffic jam begins to unravel.
- Car G: As the trigger car, Car G is the only one that can create enough space to set the chain reaction in motion.
Why Car G Must Move First
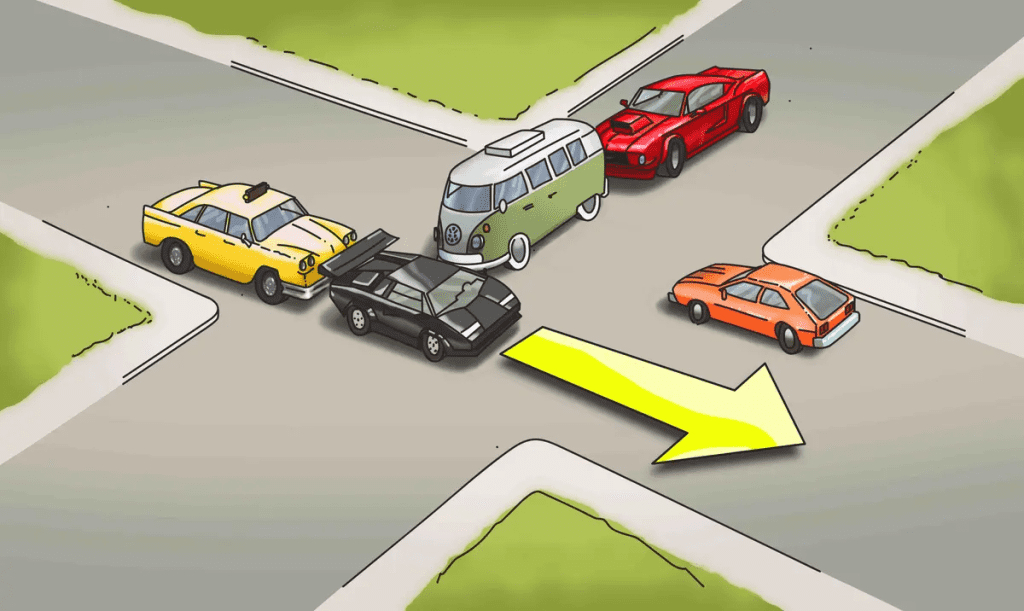
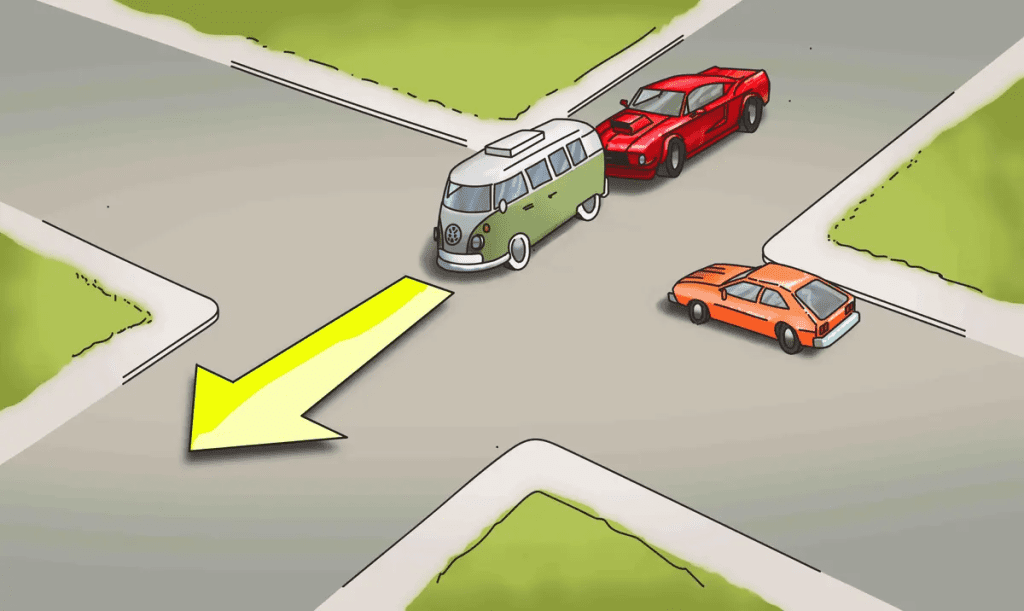
The reason Car G is so important is that it’s perfectly positioned to free up space for the other cars. Without its movement, the other vehicles remain trapped. Once Car G moves, Car F follows, then Car E, and so on. The traffic jam clears bit by bit, all thanks to that one initial move.
A Lesson in Problem-Solving
This brainteaser isn’t just about solving a traffic jam—it’s a great reminder that problem-solving often requires thinking strategically. Sometimes, the answer isn’t obvious, but by breaking down the problem and looking at each element, you can figure out where to start.
In this case, the solution came from identifying Car G as the trigger car. In real life, tackling problems often begins with recognizing the first step that leads to a larger solution.